 Save
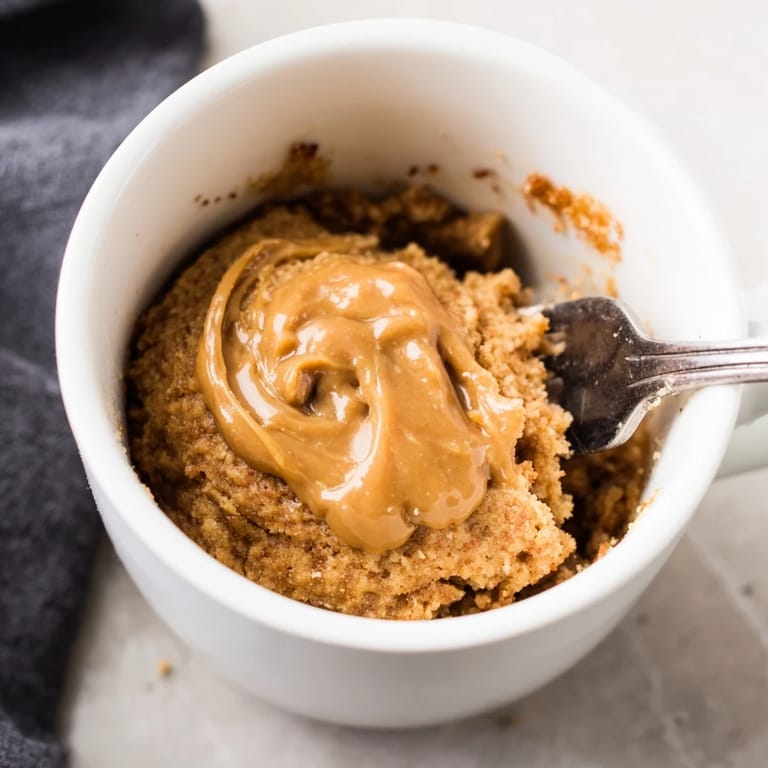
Save I discovered this recipe on a Tuesday night when I had a craving for cake but absolutely zero patience to wait. My kitchen was quiet, the oven felt like overkill, and I remembered someone mentioning mug cakes in passing years ago. I grabbed a mug, stirred together peanut butter and butter, and three minutes later I was eating warm, fluffy cake straight from the ceramic bowl. It became my secret weapon for those moments when you want something indulgent without the fuss.
I made this for a friend who said she was too tired to bake during finals week, and watching her face when she pulled a warm, risen cake from the microwave reminded me that the best recipes are the ones that show up exactly when you need them. She's made it dozens of times since.
Ingredients
- Creamy peanut butter: Use the smooth kind unless you want texture surprises; it blends better and creates that silky batter.
- Unsalted butter: The melted butter adds richness that makes this taste intentional, not like a diet hack.
- Large egg: This is your leavening agent, so don't skip it or use a smaller one.
- Milk: Any kind works—dairy, oat, almond—just make sure it's liquid at room temperature.
- Vanilla extract: A small amount that rounds out the peanut flavor without announcing itself.
- All-purpose flour: Three tablespoons is precisely measured to keep the cake fluffy, not dense.
- Granulated sugar: The sweetness balances the peanut butter's savory notes perfectly.
- Baking powder: Just a quarter teaspoon gives you that delicate rise in the microwave.
- Salt: A pinch brings everything into focus.
Tired of Takeout? 🥡
Get 10 meals you can make faster than delivery arrives. Seriously.
One email. No spam. Unsubscribe anytime.
Instructions
- Combine your wet base:
- Pour the peanut butter and melted butter into your mug and stir until you see no streaks. This takes about 30 seconds, and the warmth helps them combine smoothly.
- Build the batter:
- Crack the egg directly in, add the milk and vanilla, then whisk everything with a fork until it looks homogeneous. You'll feel the egg proteins start to incorporate, and it should look a bit paler and fluffier than the peanut butter alone.
- Add your dry ingredients:
- Sprinkle in the flour, sugar, baking powder, and salt, then fold gently with your fork until just combined. The moment you don't see white streaks of flour is the moment you stop; overmixing develops gluten and makes the cake dense instead of tender.
- Microwave with precision:
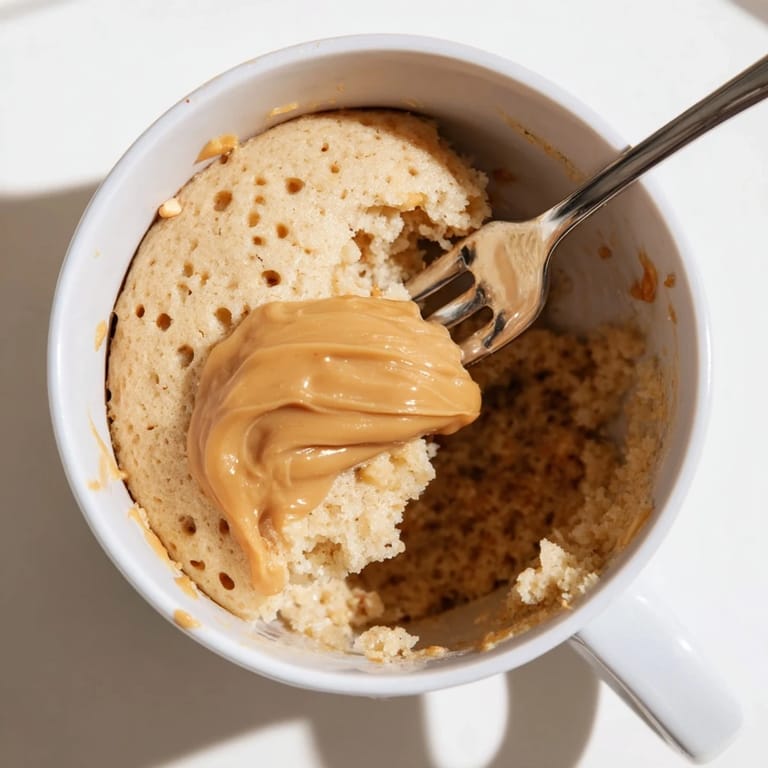
- Sixty to 75 seconds on high, and you'll watch it rise through the microwave window like a tiny miracle. The top should look set, not jiggly, when you pull it out—it will firm up as it cools, so don't panic if it looks slightly underdone.
- Cool briefly before eating:
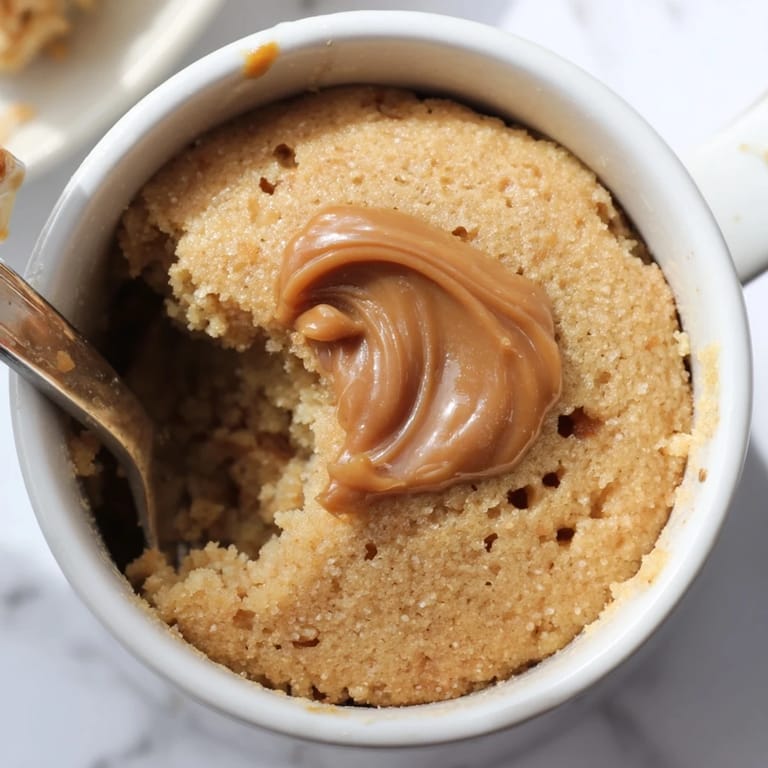
- A minute or two lets it firm up enough to eat with a spoon without burning your mouth on a molten center. Some people eat it immediately anyway, and that's valid too.
 Save
Save One late night I made this for myself after a frustrating day at work, and something about eating warm cake from a mug while sitting in the dark kitchen felt like the universe saying everything would be okay. I've made it a dozen times since, and it's never failed to feel like a small act of kindness.
Why This Works as Single-Serve Dessert
The mug acts as both mixing bowl and serving dish, which means you get to eat warm cake without the cooling-on-a-plate stage that makes baked goods less appealing. The microwave's direct heat also creates a slightly fudgier center with a more set exterior, almost like a cake-brownie hybrid. I've made traditional peanut butter cakes in the oven that took an hour, and honestly, this three-minute version tastes just as indulgent because the peanut flavor is so concentrated.
Making It Your Own
The base recipe is simple enough to play with, and I've experimented with everything from chocolate chips stirred in before microwaving to a swirl of jam on top after. Some friends add a pinch of cinnamon to the dry ingredients, which deepens the peanut flavor in a subtle way. The beauty is that you're working with such a small volume that experimenting doesn't feel wasteful.
Storage and Make-Ahead Tips
You can mix the dry ingredients in advance and store them in a small container, then just combine with wet ingredients when cravings strike. The finished cake doesn't reheat particularly well, so it's best eaten fresh from the microwave, but I've kept leftovers wrapped loosely and eaten them at room temperature the next day without much complaint. This recipe is truly designed for the moment though, which is part of its charm.
- Keep your mug-to-microwave wattage in mind and adjust timing accordingly.
- A mug with a handle is nice because the sides get hot, but it also cools the cake slightly slower if you care about temperature.
- If you're making this for someone else, a ceramic mug makes a sweetly thoughtful serving vessel.
 Save
Save This cake reminds me that the best recipes are the ones that fit your life, not the ones that demand you restructure your kitchen around them. It's been my answer to cravings, my gift to busy friends, and my proof that good things don't always take time.
Recipe FAQs
- → Can I use dairy-free milk alternatives?
Yes, almond or oat milk can be used instead of dairy milk for a dairy-free option without affecting texture.
- → How can I avoid the cake drying out?
Microwave only until the center sets, usually 60–75 seconds. Overcooking can make it dry.
- → Is it possible to make this gluten-free?
Substitute all-purpose flour with a gluten-free blend to accommodate gluten sensitivities.
- → What toppings complement this cake best?
Chocolate chips, honey drizzle, or a scoop of ice cream enhance the rich peanut butter flavor beautifully.
- → Can I prepare this without a microwave?
This mug cake is specifically designed for microwaves; conventional ovens may affect texture and timing.