 Save
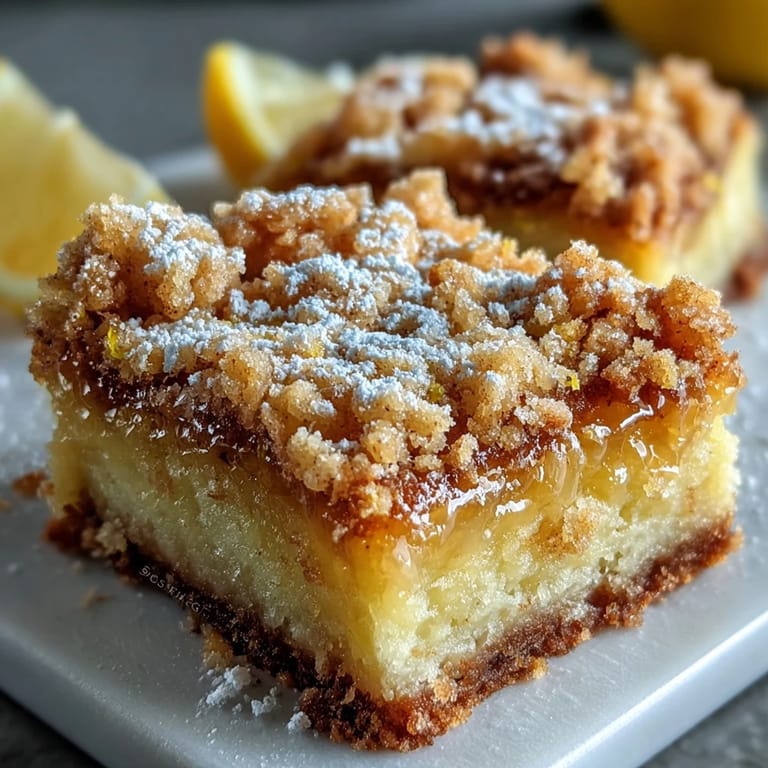
Save My neighbor Sarah showed up at my door one afternoon with a tin of these lemon bars, and I was immediately hooked by how the buttery crumb top gave way to this impossibly bright, tangy filling. She wouldn't share the recipe for weeks, which only made me more determined to figure it out myself. After a few experimental batches that ranged from too-dense to borderline soup-like, I finally cracked the code, and now these bars are my go-to when I need something that tastes fancy but comes together without fuss.
I made these for a book club meeting last spring, and the moment someone bit into one, the whole room went quiet. That's when you know you've nailed something. My friend Marcus said they tasted like spring in dessert form, and honestly, he wasn't wrong.
Ingredients
- All-purpose flour: You'll use it in both the crust and filling, so don't skip measuring it properly or your bars might end up cake-like instead of that perfect tender texture.
- Granulated sugar: Split between two components, it sweetens without overpowering the lemon, though you can adjust this to your taste preference.
- Baking powder: Just a pinch in each layer helps everything rise gently and stay light rather than dense.
- Unsalted butter, melted: Melting it first means the crumb mixture comes together immediately without any mixing, and it creates that gorgeous golden color.
- Large eggs: These bind the filling together and give it that custard-like richness that makes people swoon.
- Fresh lemon juice: This is your star player, so squeeze it fresh rather than using bottled; the difference is night and day.
- Lemon zest: Don't skip this; it adds bursts of lemony flavor that bottled juice simply can't deliver.
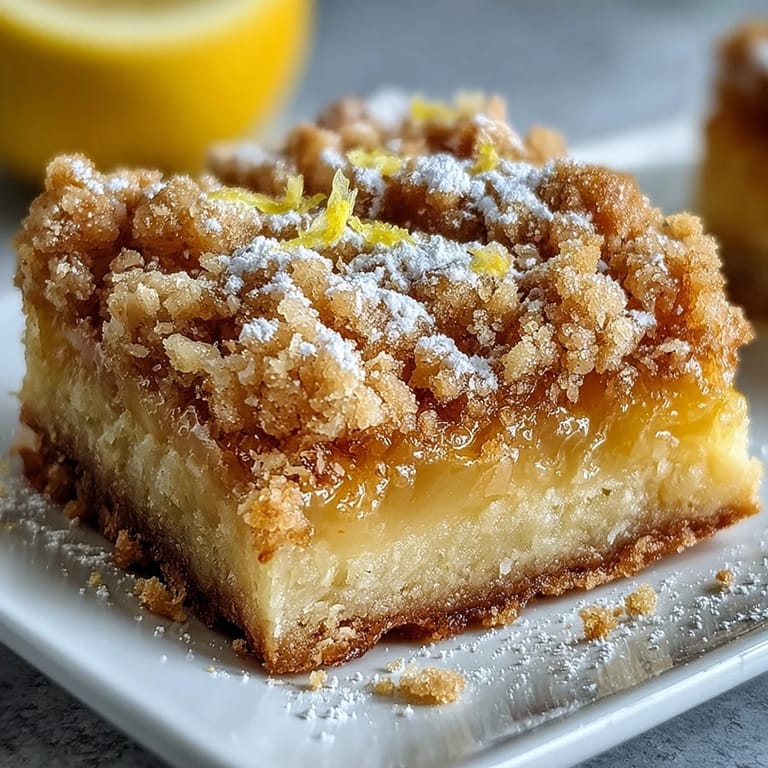
- Powdered sugar for dusting: A light dusting at the end looks beautiful and adds a subtle sweetness that catches the light.
Tired of Takeout? 🥡
Get 10 meals you can make faster than delivery arrives. Seriously.
One email. No spam. Unsubscribe anytime.
Instructions
- Get Your Oven Ready:
- Preheat to 350°F and grease your 9x9-inch pan or line it with parchment paper so you can lift the whole thing out later without any frustration.
- Make the Crumb Base:
- Mix your flour, sugar, baking powder, and salt in a bowl, then pour in the melted butter and stir until it looks like wet sand. The key is not overthinking this step; it should stay textured and crumbly, not turn into dough.
- Build the Foundation:
- Set aside half a cup of your crumb mixture for topping, then press the rest firmly into the bottom of your pan. You want it even and compact so the filling doesn't sink through and create soggy spots.
- Pre-Bake the Crust:
- Bake for 10 to 12 minutes until it's lightly golden around the edges. This step matters because it sets the structure and prevents a gummy base.
- Prepare the Filling While That Bakes:
- Whisk your eggs and sugar together until they're pale and slightly fluffy, then add lemon juice, zest, flour, baking powder, and salt. The filling should look smooth and creamy with no lumps hiding in the corners.
- Combine Everything:
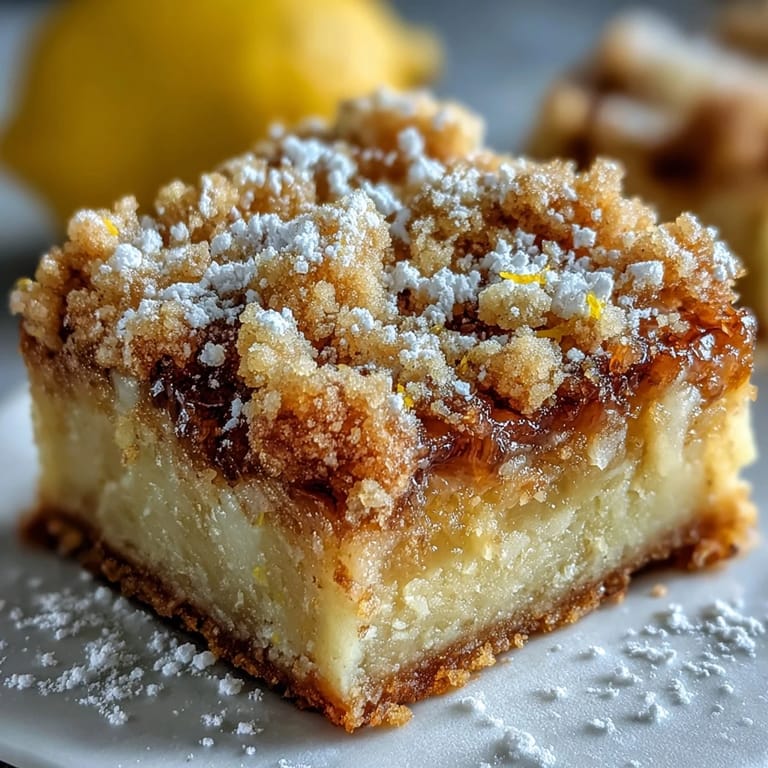
- Pour the bright yellow filling over your hot crust straight from the oven, then scatter that reserved crumb mixture across the top as evenly as you can. Don't worry about covering every spot; some gaps let the filling peek through beautifully.
- The Final Bake:
- Return to the oven for 20 to 25 minutes until the topping turns a light golden brown and the filling is set but still has a tiny jiggle in the center. You'll smell that incredible citrus aroma filling your kitchen.
- Cool With Patience:
- Let them rest in the pan for at least an hour at room temperature, then refrigerate for another hour before cutting. This cooling time is crucial because it sets the filling to the perfect fudgy consistency.
 Save
Save These bars became my signature dessert for summer gatherings, the one people actually ask me to bring. There's something about offering someone a plate of homemade lemon bars that feels like a small act of kindness.
The Secret to a Perfect Crumb Topping
The magic happens when you don't overthink the crumb texture. Your mixture should stay separate and granular rather than turning into a compact dough, which is why melting the butter first instead of cutting it in makes all the difference. When it hits the oven, those little crumbs toast up and turn golden and slightly crispy while the filling stays tender underneath.
Why These Bars Taste Better After Chilling
I used to think they were ready as soon as they cooled, but then I learned patience, and my whole approach changed. The chill time allows the filling to set into that perfect creamy consistency, and it somehow makes the lemon flavor taste more pronounced and less sharp. The flavors marry together overnight, and by the second day, you've got something even better than you started with.
Storing and Serving Your Lemon Bars
Keep these in an airtight container in the refrigerator, and they'll stay fresh and delicious for a full week. They're wonderful straight from the cold, but I've also served them at room temperature when I'm bringing them to someone's house, and they hold up beautifully either way. A light dusting of powdered sugar right before serving adds that bakery-quality finish that makes people think you spent way more time on them than you actually did.
- Store in an airtight container in the refrigerator for up to one week so they stay moist and the flavors deepen.
- For a firmer filling that slices even cleaner, stir in one tablespoon of cornstarch when you make the lemon mixture.
- Try swapping lime juice and zest for lemon if you want a fun variation that feels tropical and unexpected.
 Save
Save These lemon crumb bars have become more than just a dessert in my kitchen; they're my answer to almost any occasion. Whether you're bringing them to a gathering or keeping them hidden on your own shelf, they'll remind you why homemade is always worth the extra fifteen minutes.
Recipe FAQs
- → What makes the crust crumbly?
Using melted unsalted butter combined with flour and sugar creates a tender, crumbly base and topping that holds together well.
- → How long should the bars be chilled?
After baking, chill the bars at least one hour to allow the filling to set and the flavors to meld for the best texture.
- → Can lime juice be used instead of lemon?
Yes, substituting lime juice adds a fun twist with a slightly different citrus brightness and tartness.
- → How can I adjust the sweetness?
Modify the sugar quantity in the filling to your taste; adding more will sweeten, while reducing it enhances tartness.
- → What is the best baking pan size?
A 9x9-inch baking pan works well to ensure even baking and correct thickness of the bars.
- → Are these bars suitable for vegetarians?
Yes, they contain no meat and use common vegetarian ingredients like eggs, butter, and flour.