 Save
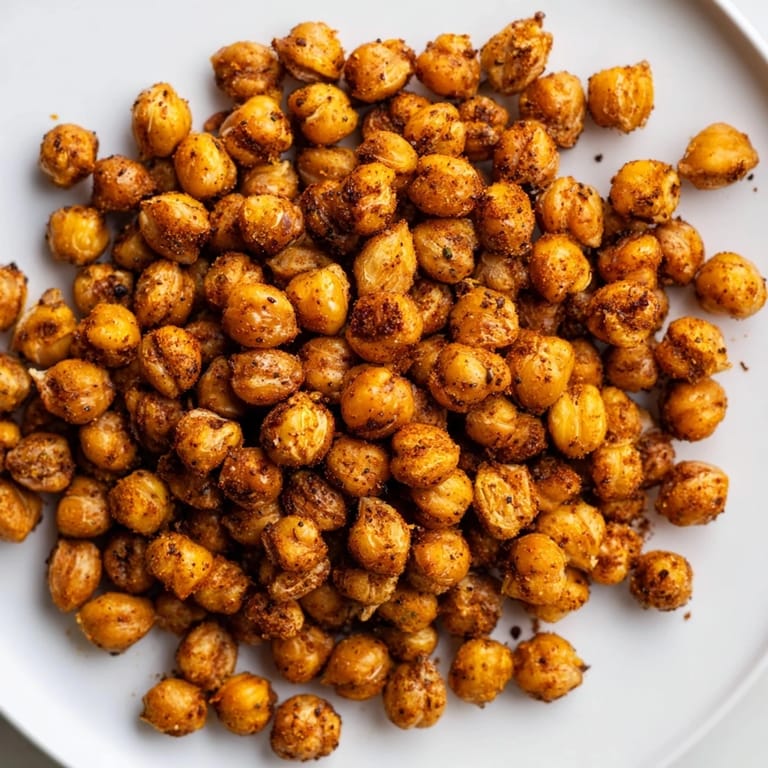
Save I discovered crispy chickpeas completely by accident one afternoon when I was looking for something to snack on while working. My pantry was sparse, but there was a forgotten can of chickpeas gathering dust on the shelf. I'd heard about roasting them, so I decided to try—and the moment they came out of the oven, golden and crackling, I understood why people get excited about this simple magic. Now they're my go-to snack when I need something that feels indulgent but actually fuels me.
I remember bringing a batch to a friend's house for a casual dinner, expecting them to be a forgettable side snack. Instead, everyone kept reaching for them between courses, and by the end of the night, the bowl was empty. That's when I realized how addictive these little things are—they hit that perfect sweet spot between healthy and genuinely delicious.
Ingredients
- Chickpeas: One can (400 g) drained and rinsed, or 250 g cooked—the fresher they are, the crispier they'll become, so don't skip the rinsing step to remove excess starch.
- Olive oil: Two tablespoons is the magic amount for coating without making them greasy; too little and they'll dry out, too much and they'll stay soft.
- Sea salt: Half a teaspoon enhances the natural chickpea flavor, though you can adjust to your taste preference.
- Smoked paprika: A half teaspoon adds warmth and depth without overpowering the delicate legume.
- Ground cumin: Also half a teaspoon, this brings an earthy note that makes the snack feel complete.
- Garlic powder: A quarter teaspoon gives savory notes without any raw bite.
- Black pepper: A quarter teaspoon rounds out the spice profile with just enough bite.
- Cayenne pepper (optional): A quarter teaspoon if you like heat that builds as you snack.
- Nutritional yeast (optional): A tablespoon creates a subtle cheesy flavor that surprises people in the best way.
Tired of Takeout? 🥡
Get 10 meals you can make faster than delivery arrives. Seriously.
One email. No spam. Unsubscribe anytime.
Instructions
- Get your oven ready:
- Preheat to 200°C (400°F) and line a baking sheet with parchment paper so you don't have to worry about cleanup later.
- Dry those chickpeas:
- Pat them thoroughly with a clean kitchen towel—this step feels tedious but it's genuinely the difference between soft and snappy. The drier they are, the crispier they'll become.
- Toss and coat:
- Combine the chickpeas and all your seasonings in a large bowl, making sure every single one gets dressed with oil and spices. A little elbow grease here ensures nothing tastes bland.
- Spread them out:
- Arrange the chickpeas in a single layer on the baking sheet without crowding—they need air circulation to crisp up properly.
- The patient roast:
- Slide into the oven for 35 minutes, and here's the key: shake the pan or stir every 10 minutes to ensure even browning. This prevents burning on one side while others stay soft.
- Cool and crunch:
- When they're golden and smell absolutely incredible, pull them out and let them cool slightly—they'll continue crisping as they sit, almost like they're still cooking with residual heat.
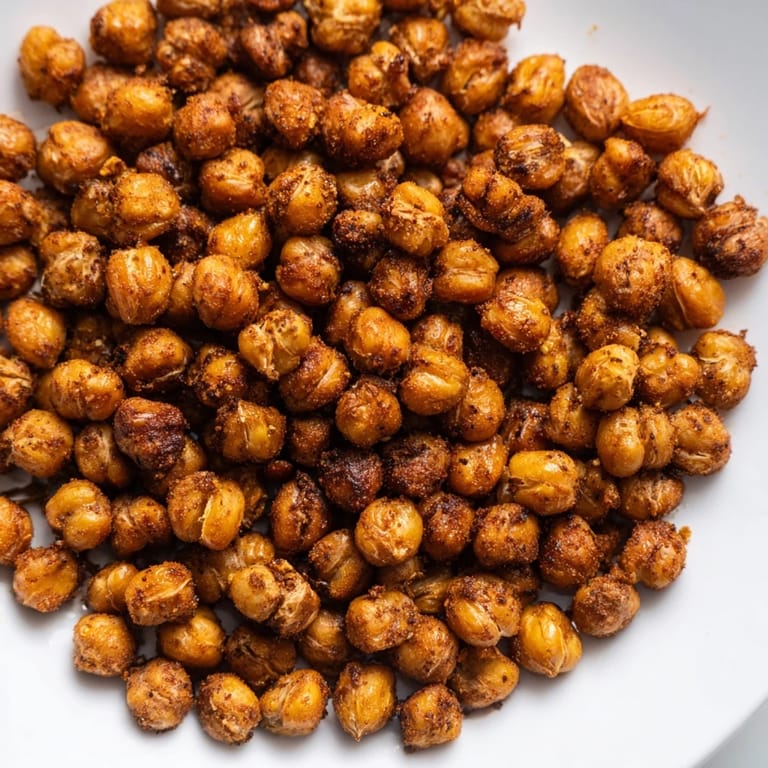 Save
Save There's something almost meditative about the repetitive shaking of that pan every few minutes, watching them gradually darken and listening to them rattle against the metal. By the end, that simple sound—the clinking of crispy legumes—became my favorite signal that something good was almost ready.
Flavor Variations That Work
Once you've mastered the basic roast, the seasoning possibilities become endless. I've experimented with curry powder and coconut flakes for an Indian vibe, Italian herbs and lemon zest for Mediterranean flavors, and even a chili-lime combination that tastes like a street snack. The beauty is that the roasting technique stays the same—only the spice blend changes—so you can easily adapt to whatever you're craving without relearning the method.
Storage and Shelf Life
Let them cool completely before storing in an airtight container at room temperature—rushing this step and sealing them warm traps steam inside and ruins the crunch. They'll stay crispy for up to three days, though honestly, they rarely last that long in my house.
Ways to Eat Them
Beyond snacking straight from the container, these chickpeas add texture and nutrition to so many dishes. Scatter them over salads, stir them into grain bowls, sprinkle them on soup, or serve them alongside hummus and crackers at a gathering.
- Toss into a warm salad just before serving so they stay crispy instead of softening from the dressing.
- Layer them into Buddha bowls with roasted vegetables and tahini sauce for a satisfying lunch.
- Keep a container at work or in your bag for that 3 PM slump when you need protein and crunch without leaving your desk.
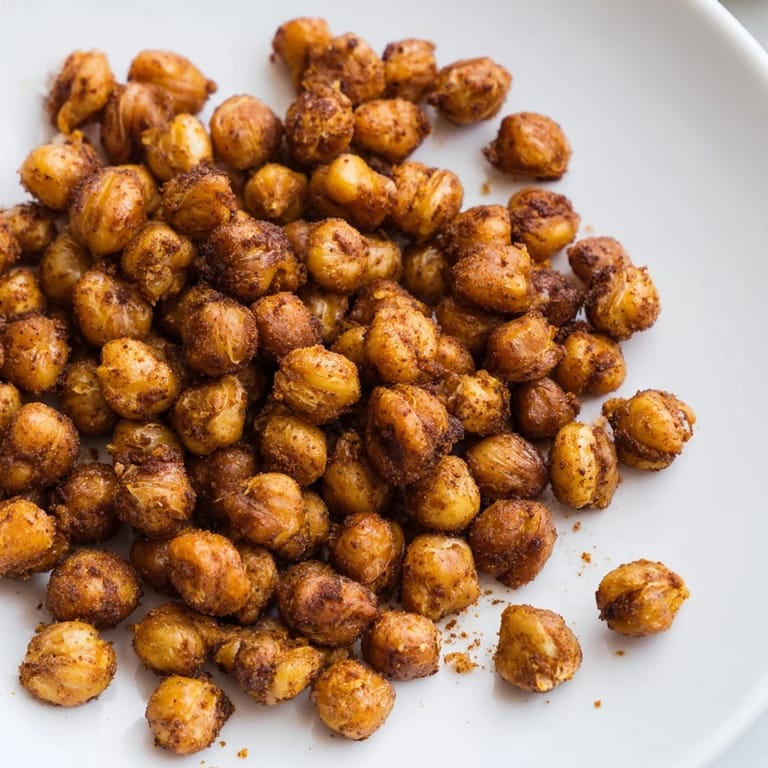 Save
Save These little roasted chickpeas became my answer to that constant snack dilemma—nutritious but not boring, fancy enough to impress without requiring a recipe to memorize. They're proof that sometimes the simplest ideas make the biggest difference.
Recipe FAQs
- → How do I make chickpeas extra crispy?
Pat the chickpeas dry thoroughly before seasoning and roasting. Removing moisture helps them crisp up better during baking.
- → What spices enhance roasted chickpeas?
Smoked paprika, ground cumin, garlic powder, sea salt, and black pepper create a balanced savory flavor. Optional cayenne adds heat, while nutritional yeast offers cheesy notes.
- → Can I store roasted chickpeas for later?
Yes, store fully cooled chickpeas in an airtight container at room temperature for up to 3 days to maintain crunchiness.
- → What are good serving suggestions for crispy chickpeas?
Enjoy them as a standalone snack, toss into salads, or sprinkle over grain bowls for added texture and protein.
- → Are these chickpeas suitable for special diets?
Yes, they’re vegan, gluten-free, and high in protein making them suitable for a variety of dietary preferences.