 Save
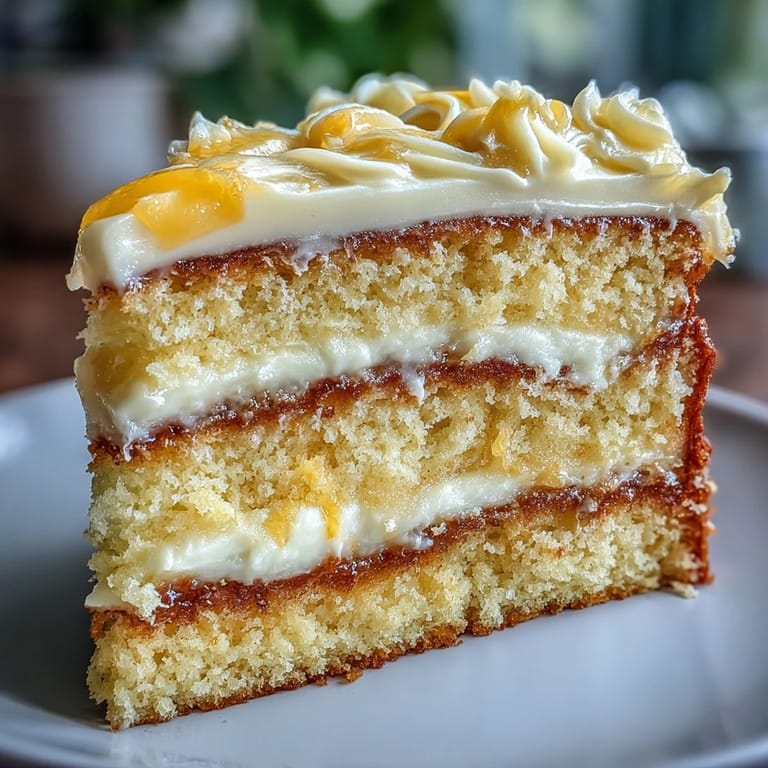
Save Creating the Gemini Cake became a cherished family tradition, especially during birthdays. The vibrant yellow and white marbling is not just a feast for the eyes; it transforms the kitchen into a joyful canvas of colors, where laughter echoes off the walls. One afternoon, I made it for my best friend’s surprise party, and as we opened the oven, the sweet, buttery aroma enveloped us like a warm hug. We couldn't wait to see her reaction when she walked in, and the cake was indeed a showstopper. Watching her face light up quickly made all the effort worthwhile.
When making this cake, I vividly recall the first time I baked it to surprise my little sister. She was completely enamored by its whimsical colors, and each slice seemed to spark an even bigger smile. We spent the afternoon chatting and reminiscing as we decorated it together, turning each swirl of frosting into a masterpiece.
Ingredients
- All-purpose flour: This forms the base of the cake, giving it structure; sift it for an airy texture.
- Baking powder: The secret leavening agent that ensures the cake rises beautifully.
- Salt: Just a pinch elevates the flavors, balancing the sweetness perfectly.
- Unsalted butter: Room temperature butter whips up into a fluffy base, adding richness to the batter.
- Granulated sugar: This brings sweetness and a golden crust as it caramelizes in the oven.
- Eggs: Vital for moisture; room temperature eggs mix in more smoothly.
- Vanilla extract: A must-have for flavor; always opt for pure vanilla for the best taste.
- Whole milk: Its richness adds moisture; make sure it's at room temperature for even mixing.
- Instant vanilla pudding powder: This optional ingredient boosts moisture and adds a delightful texture.
- Yellow gel food coloring: Just a few drops can create the bright, cheerful hue.
Tired of Takeout? 🥡
Get 10 meals you can make faster than delivery arrives. Seriously.
One email. No spam. Unsubscribe anytime.
Instructions
- Preheat the Oven:
- Set your oven to 350°F (175°C) and grab your favorite two 9-inch (23 cm) round cake pans. Greasing and lining them with parchment paper ensures easy release later.
- Mix the Dry Ingredients:
- In a medium bowl, whisk together the flour, baking powder, and salt until fully combined. This simple step also helps aerate the flour.
- Butter and Sugar Creation:
- In a larger bowl, beat the room temperature butter and granulated sugar until they’re light and fluffy, about 3-4 minutes. This is where the magic starts!
- Eggs In:
- Add the eggs one by one, ensuring each is well incorporated before the next. Don’t forget to mix in that delicious vanilla extract.
- Mix the Batter:
- Gradually add the dry mixture in three parts, alternating with the milk. Make sure to start and end with the flour for the best texture.
- Color the Batters:
- Divide the batter into two bowls and mix in the yellow gel food coloring to one until you've achieved that perfect sunny shade. It’s okay to get a little playful here!
- Swirl It Up:
- Dollop alternating spoonfuls of the yellow and white batters into the prepared pans, then use a skewer or knife to gently swirl them together for a marbled effect. Don’t worry if it’s messy; that’s part of the charm!
- Time to Bake:
- Pop the cakes into the oven and bake for 30-35 minutes, or until a toothpick comes out clean from the center. The smell that fills your kitchen during this time will have everyone eagerly waiting!
- Cooling Off:
- Let the cakes cool in the pans for 10 minutes before turning them out onto a wire rack. This helps to avoid soggy bottoms – nobody wants that!
- Frosting Fun:
- For the frosting, beat the softened butter until smooth and creamy, then progressively mix in the powdered sugar. Adjust with milk for the perfect spreading consistency.
- Build Your Cake:
- If needed, level your cakes, place one layer on a serving plate, and spread frosting over it. Stack the second layer on top and frost the entire cake.
 Save
Save 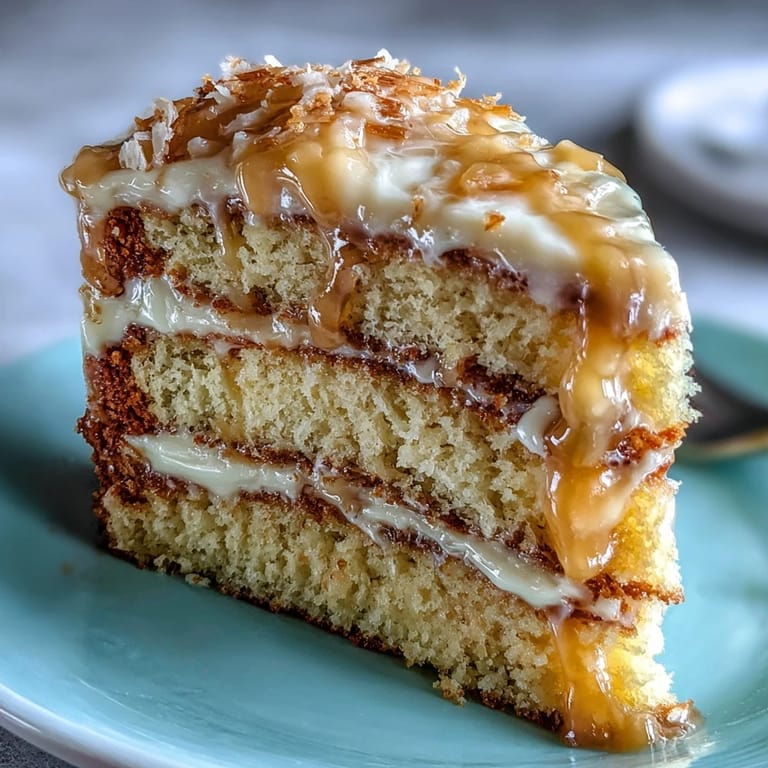 Save
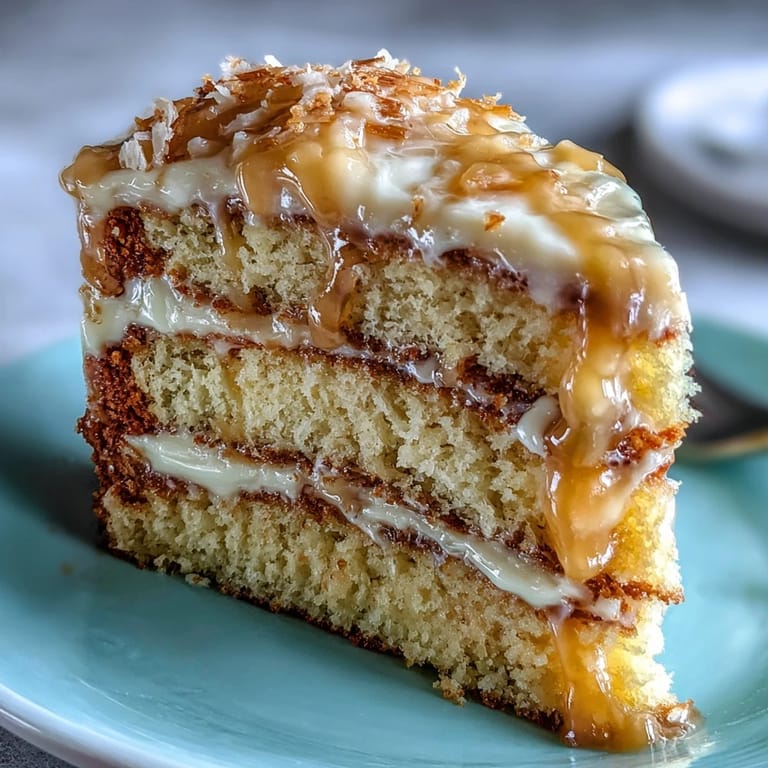
Save As we gathered around the table, slicing into the cake felt almost like unveiling a masterpiece. Each slice brought smiles, and the marbled layers created a beautiful contrast that was just as delightful to eat as it was to look at.
A Touch of Zest
Incorporating lemon zest into the yellow batter will add a lovely brightness that complements the sweetness beautifully. It’s a simple way to elevate the flavor profile, turning a classic cake into something extraordinary.
Layering Flavors
Consider adding luscious lemon curd or fruit preserves between the layers for a burst of flavor that will surprise your guests. It makes the cake not only more delicious but also adds an unexpected twist.
Serving Suggestions
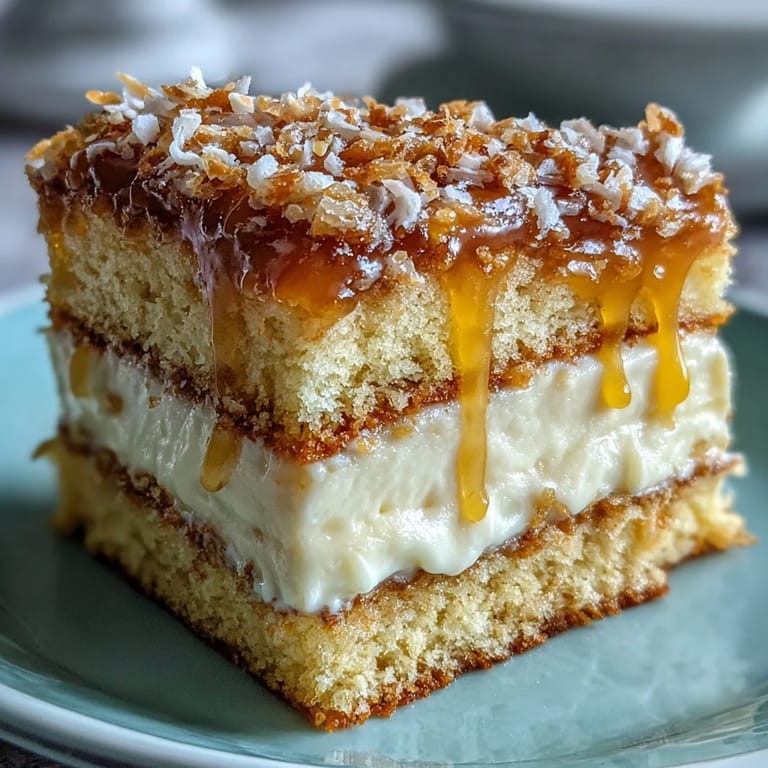
This cake pairs splendidly with a glass of sparkling wine or a soothing cup of chamomile tea. Three tips: keep it cool until serving, take your time frosting, and let the flavors develop overnight.
- Let the cake sit for a few hours before serving for the best taste.
- Use an offset spatula for smooth frosting.
- Decorate with fresh fruit or edible flowers for a stunning presentation.
 Save
Save 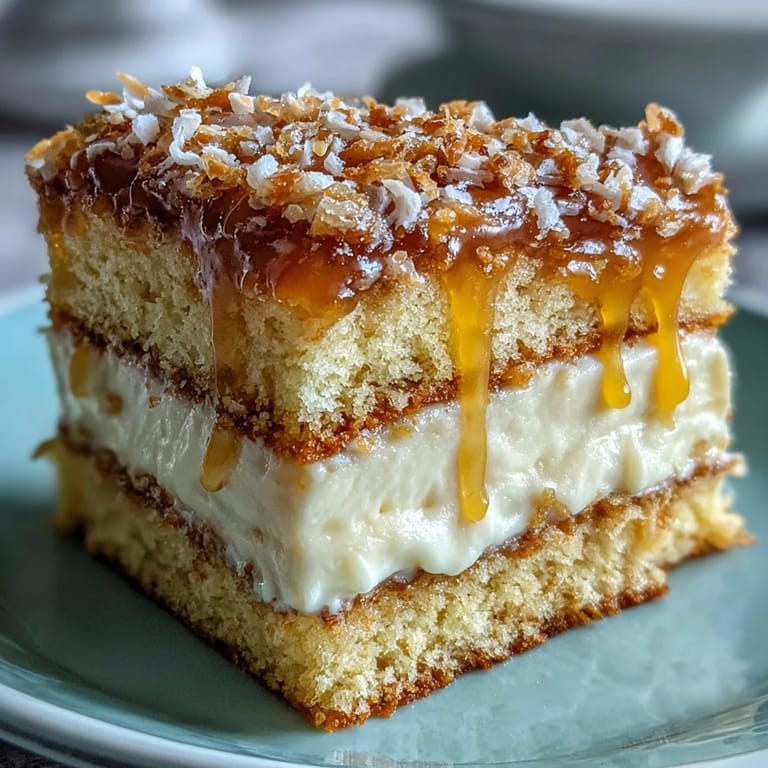 Save
Save Making this cake is more than just baking; it’s about creating memories to savor over the years. Each time I whip it up, I know I’m bringing joy to those I love.
Recipe FAQs
- → What flavors are in the Gemini Cake?
The cake features a delightful combination of vanilla flavors from the yellow and white sponges, enhanced with optional lemon zest for added freshness.
- → Can I use different colors of food coloring?
Absolutely! You can customize the color of the sponge by using any gel food coloring you prefer for the marbling effect.
- → How should I store the cake?
Store the cake in an airtight container at room temperature for up to 3 days. If it needs to last longer, refrigerate it for up to a week.
- → Can I use a different frosting for this cake?
Yes, feel free to experiment with other frostings like cream cheese or chocolate for different flavor profiles!
- → Is this cake suitable for special diets?
This cake contains wheat and dairy; however, you can modify the recipe for gluten-free or dairy-free options using substitutes.