 Save
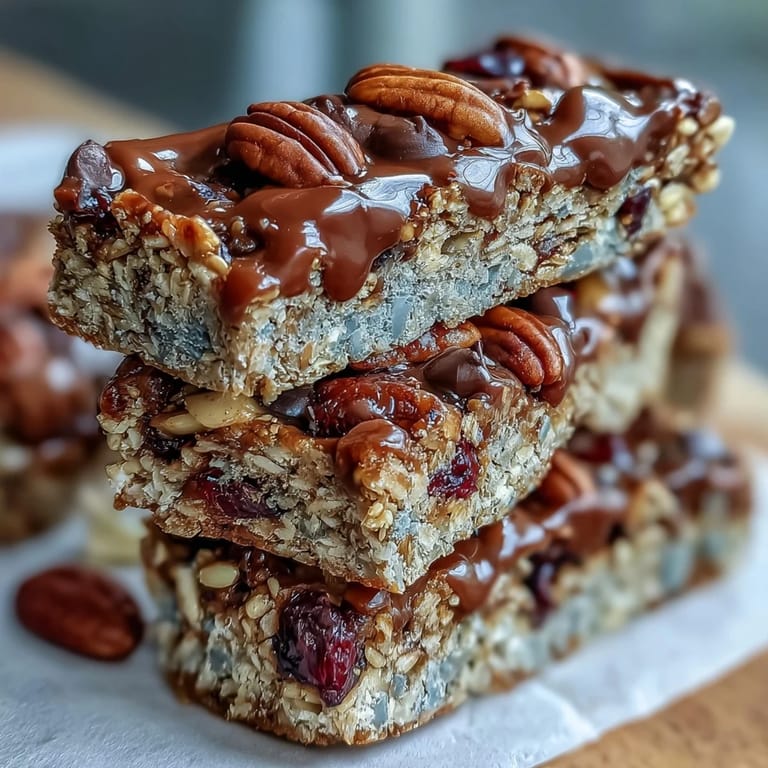
Save Last summer, I was scrambling to pack for a hiking trip when my friend texted asking what I'd bring for snacks. I opened my pantry and found honey, peanut butter, and a half-empty box of oats staring back at me. By that evening, I'd made these no-bake bars—chewy, satisfying, and infinitely better than anything store-bought. Now I can't imagine hitting a trail without them.
I brought a batch to my daughter's soccer practice, and within ten minutes, other parents were asking for the recipe. One mom admitted she'd been buying expensive granola bars for her kids' lunchboxes without realizing how simple they were to make at home. Watching her eyes light up when she tasted one felt like sharing a small kitchen secret.
Ingredients
- Old-fashioned rolled oats (2 cups): These hold the bars together while staying tender—instant oats will turn to mush, so don't swap them.
- Crisp rice cereal (1 cup): This adds a subtle crunch and helps bind everything without weighing it down.
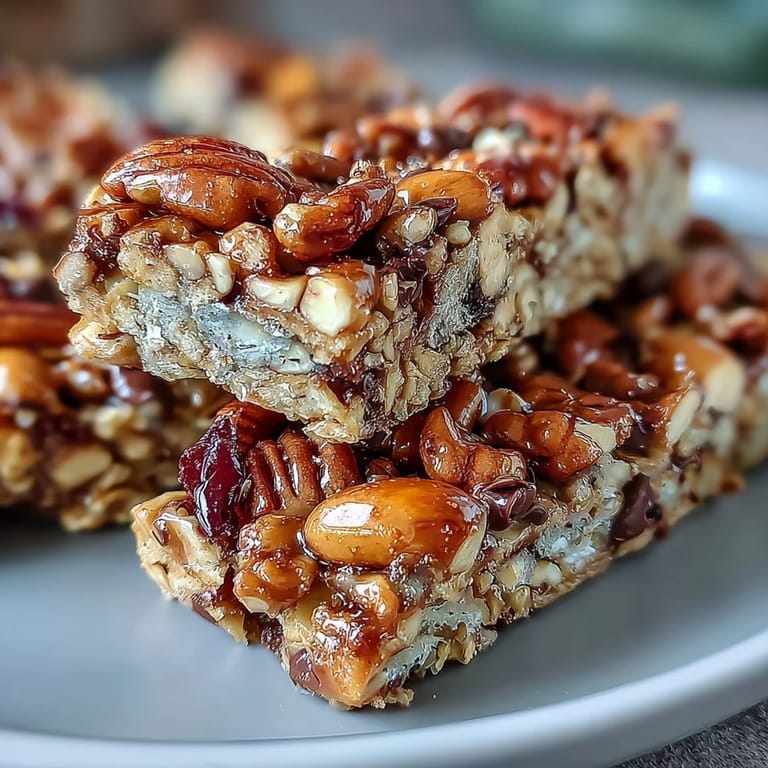
- Mixed nuts, chopped (1/2 cup): Almonds, walnuts, or pecans work beautifully; pick whatever you have or what sounds good.
- Dried fruit (1/2 cup): Cranberries give tartness, raisins add sweetness, apricots bring chewiness—or mix them all for complexity.
- Unsweetened shredded coconut (1/4 cup, optional): Skip it if coconut isn't your thing, but it adds wonderful texture and a subtle tropical note.
- Salt (1/4 teaspoon): Just a pinch to make all the other flavors sing and balance the sweetness.
- Honey or maple syrup (1/2 cup): Honey creates a stickier texture; maple syrup dries slightly firmer—choose based on how chewy you want them.
- Peanut butter or almond butter (1/3 cup): The creamy kind works best here; if you only have chunky, use it anyway and embrace the texture.
- Vanilla extract (1 teaspoon): A small splash that pulls all the flavors together and prevents them from tasting flat.
- Mini chocolate chips (1/4 cup, optional): Add them after the mixture cools slightly, or they'll melt into puddles—which honestly isn't the worst problem.
- Chia seeds or flaxseed meal (1 tablespoon, optional): Great for extra nutrition and a subtle nuttiness.
Tired of Takeout? 🥡
Get 10 meals you can make faster than delivery arrives. Seriously.
One email. No spam. Unsubscribe anytime.
Instructions
- Prepare your canvas:
- Line an 8-inch square pan with parchment paper, letting some hang over the edges—this becomes your built-in handle for lifting the whole batch out later.
- Combine the dry team:
- In a large bowl, toss together oats, rice cereal, nuts, dried fruit, coconut, and salt until everything's evenly distributed. This is where you get to use your hands if you want.
- Melt the binder:
- Set a small saucepan over low heat and add honey and peanut butter, stirring gently until smooth and pourable—about 2 to 3 minutes. The warmth will bring them together beautifully.
- Bring it together:
- Pour the warm mixture over the dry ingredients and mix thoroughly until every oat and nut is coated in that golden sweetness. Don't hold back here; get in there with a spoon or your hands.
- Add chocolate wisely:
- If using chocolate chips, wait 2 to 3 minutes for the mixture to cool slightly before stirring them in—this prevents them from melting into the filling completely. Some melting is fine; total collapse is not.
- Press into the pan:
- Transfer everything to your parchment-lined pan and press down firmly and evenly with a spatula or the flat bottom of a measuring cup. You want a compact bar that holds together, not a crumbly mess.
- Add the garnish (optional):
- Sprinkle extra chocolate chips or nuts on top and gently press them in so they stick around for every bite.
- Chill until set:
- Refrigerate for at least 1 hour—this is non-negotiable if you want bars instead of crumbles. Patience here pays off.
- Cut and store:
- Use the parchment overhang to lift everything out, then slice into 12 bars with a sharp knife (wetting it helps prevent sticking). Keep them in an airtight container in the fridge for up to a week.
 Save
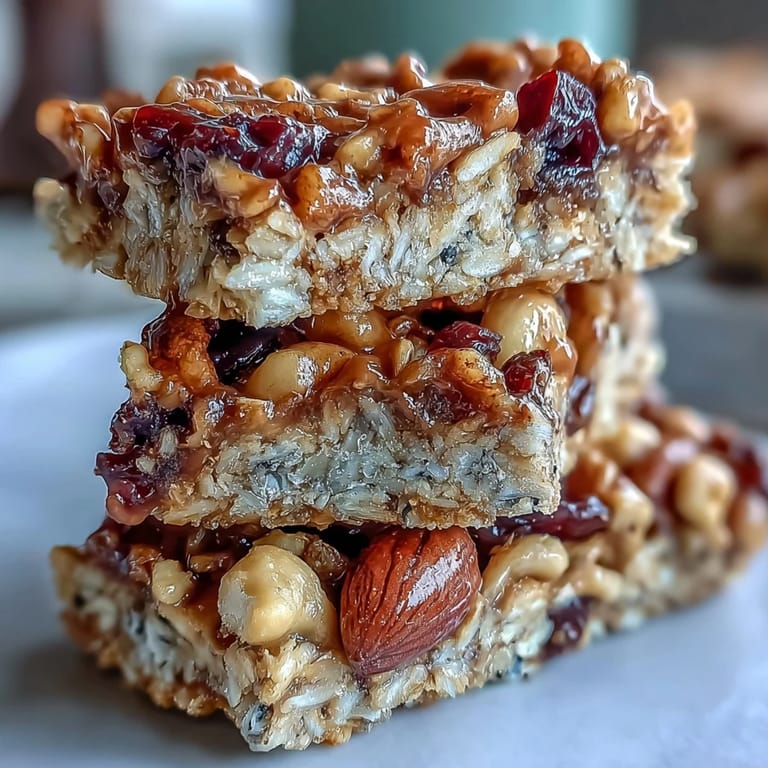
Save My neighbor started making these for her yoga studio's fundraiser, and suddenly I realized these weren't just snacks—they'd become something people genuinely looked forward to. There's something about homemade that registers on the soul differently than anything mass-produced.
Why These Bars Beat Store-Bought
Commercial granola bars often hide sugars under innocent-sounding names and cost more per ounce than actual gold. When you make these yourself, you know exactly what's going in, can adjust sweetness to your preference, and spend a fraction of what you'd pay for the fancy organic versions at the store. Plus, the smell of honey and peanut butter filling your kitchen is something no wrapper can deliver.
Customization Ideas That Actually Work
The beauty of this recipe is that it handles improvisation gracefully—if you're out of peanut butter, sunflower seed butter works perfectly for a nut-free version. I've added cinnamon and cardamom for warmth, swapped dried cranberries for dried mango, and even pressed unsweetened cocoa nibs on top for a sophisticated twist. Think of the base recipe as a canvas rather than a rigid instruction manual.
Storage and Shelf Life
These bars are happiest in the refrigerator where they stay chewy and structured, though they'll survive at room temperature for a day or two if you're taking them on an adventure. I've found that wrapping each bar individually in parchment paper keeps them from sticking to each other and makes them ridiculously portable. They freeze beautifully too—thaw one about fifteen minutes before eating and it'll taste as fresh as the day you made them.
- Store in an airtight container between sheets of parchment to prevent them from fusing together.
- If your house runs warm, keep them in the coldest part of your fridge so they don't get soft.
- Freezing extends their life to three weeks, making it smart to batch-make when you have time.
 Save
Save Making these bars feels less like following a recipe and more like assembling something that nourishes both body and the simple pleasure of creating food. They've become my go-to when life gets busy and I need something honest to eat.
Recipe FAQs
- → Can I substitute the nuts for allergies?
Yes, swapping peanut butter for sunflower seed butter and omitting mixed nuts creates a nut-free alternative.
- → How do I keep the bars from sticking to the pan?
Line the pan with parchment paper leaving some overhang to easily lift the bars once chilled.
- → Can I use different sweeteners?
Maple syrup or honey works well; both provide natural sweetness and help bind the bars.
- → Are there vegan options for these bars?
Yes, use maple syrup instead of honey and dairy-free chocolate chips to keep them vegan.
- → How long should the bars chill before cutting?
Refrigerate for at least 1 hour to ensure the mixture sets firmly for easy slicing.
- → Can I add spices for extra flavor?
Certainly, spices like cinnamon or cardamom can be mixed into the dry ingredients for added warmth.